Generate and Visualize 3D Assets Using Asset Generator
R2026bThis example shows how to generate and visualize 3D mesh assets using the Asset Generator app. The app enables you to generate textured 3D meshes from images or text prompts using AI-based deep learning models, import existing 3D assets from standard file formats, and visualize meshes with PBR textures in an interactive 3D viewer.
Note: To generate 3D mesh from image or text prompt, the Asset Generator app requires the Deep Learning Toolbox™ and a GPU with at least 16 GB of memory and CUDA compute capability 7.0 or higher.
Creating simulation-ready 3D assets traditionally requires specialized modeling skills and hours of manual work. The Asset Generator app in the 3D Asset Processing Library for MATLAB® eliminates this bottleneck by enabling you to generate textured 3D meshes from images or text prompts using state-of-the-art generative AI models. You can also import existing assets from standard file formats, visualize meshes with PBR textures on an interactive 3D canvas, and inspect geometry and material properties using the app.
Open Asset Generator App
Open the Asset Generator app.
Select the Apps tab of the MATLAB Toolstrip. Then, in the Automotive section, click the Asset Generator button.
Alternatively, at the MATLAB command prompt, enter this command.
assetGenerator
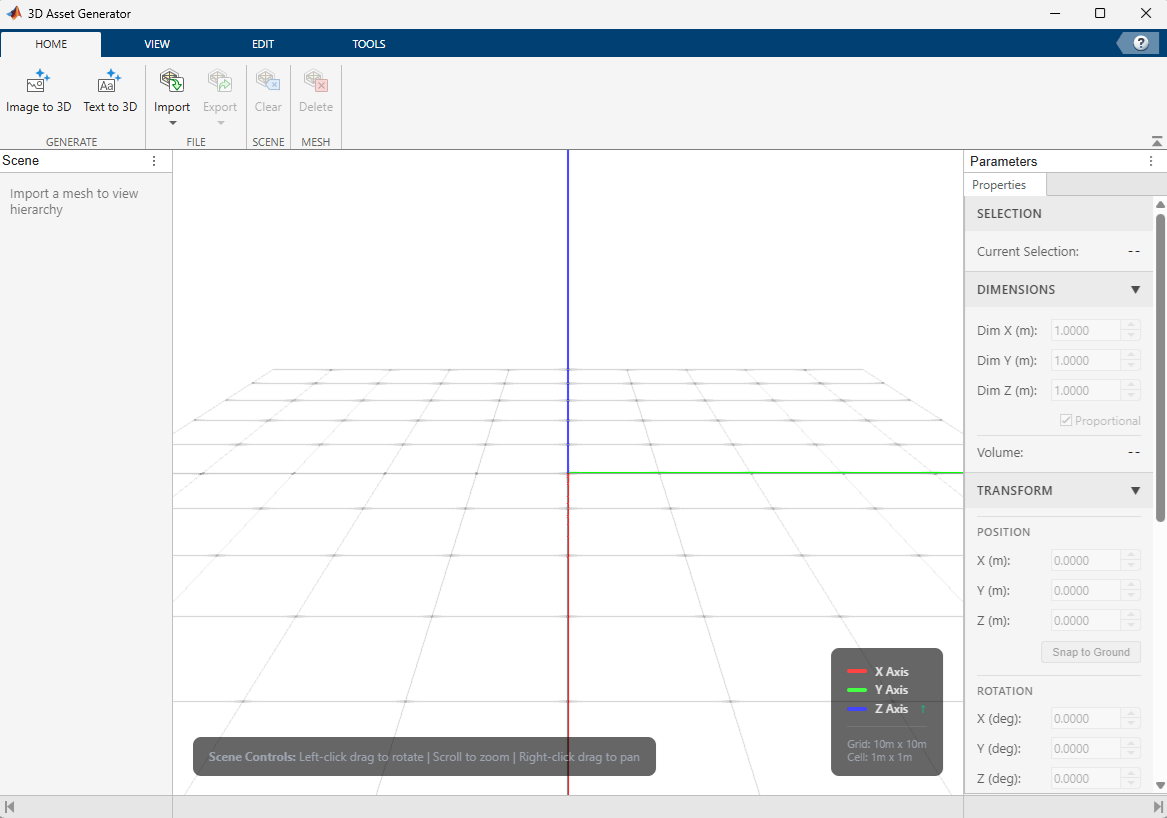
The app opens with a ground grid, world axes, and an empty 3D canvas in the center. The Scene panel on the left shows the scene graph hierarchy. The Parameters panel on the right displays mesh properties, dimensions, transform controls, and mesh information.
Generate 3D Asset from Image
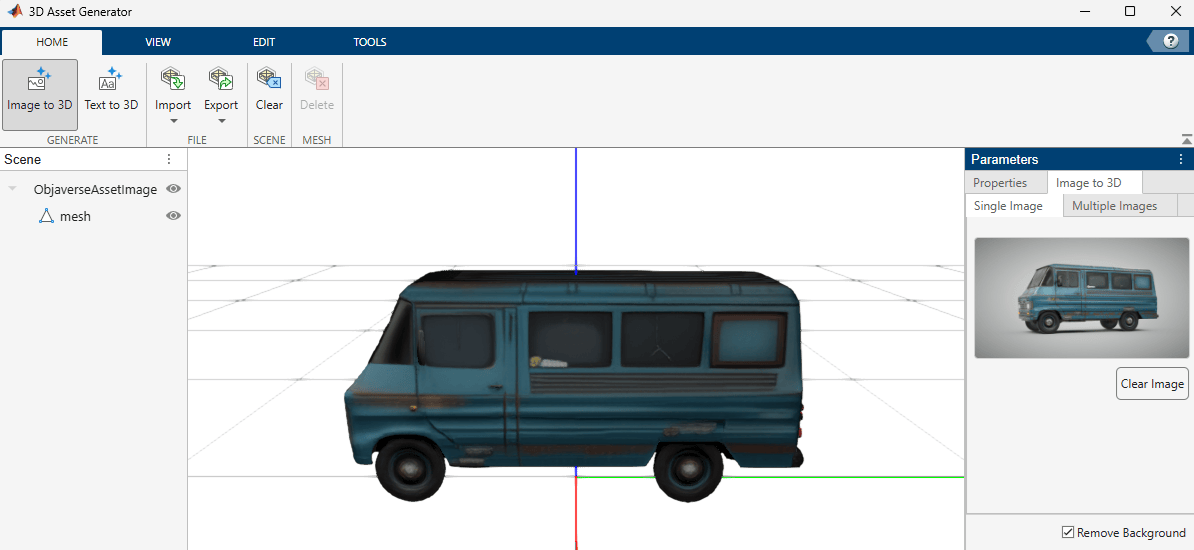
On the Home tab, click Image to 3D. The Parameters panel on the right switches to the Image to 3D tab, displaying an image upload area, generation settings, and mesh extraction settings.
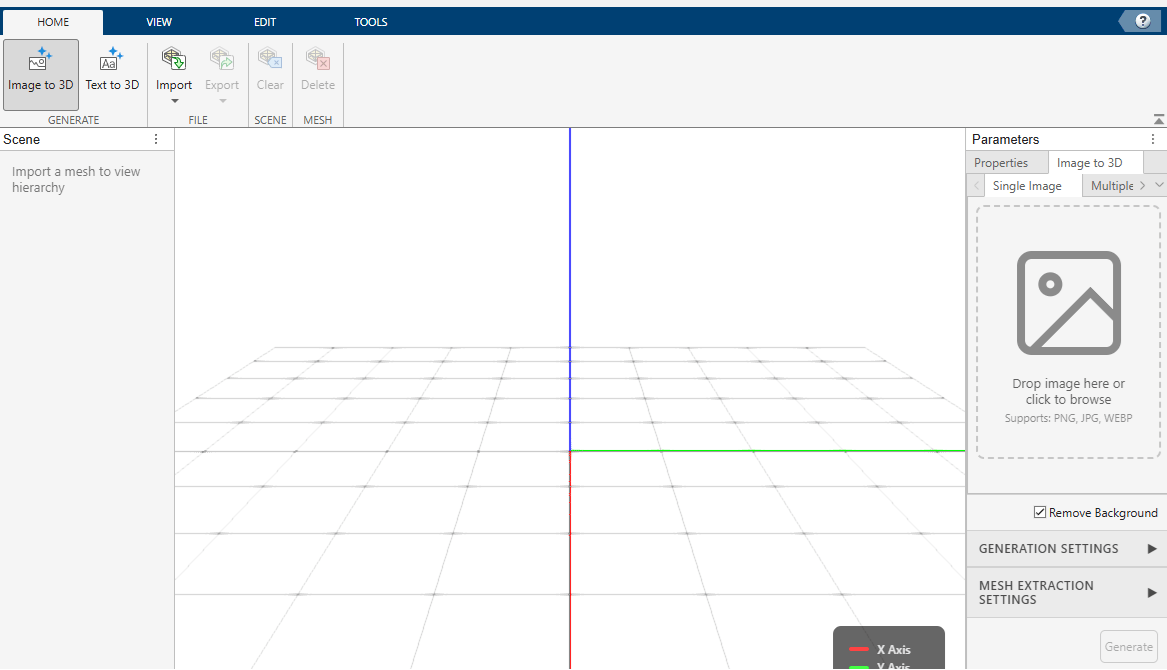
Click the upload area or drag and drop an image file. The app accepts common image formats such as PNG, JPEG, and BMP. You can upload a single image, or switch to the Multiple Image tab to upload multiple view images for better 3D reconstruction.
For this example, use this reference image of a vehicle ObjaverseAssetImage.jpeg, attached to this example as a supporting file.
img = imread("ObjaverseAssetImage.jpeg");
imshow(img)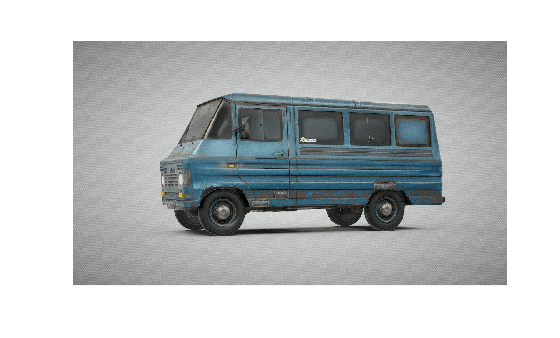
Upload this image into the app by clicking the upload area in the Image to 3D panel and selecting the image file.
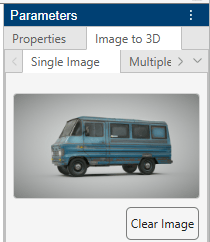
Before generating, expand Generation Settings to configure these parameters:
Seed — Random seed for reproducibility. Toggle Randomize off to set a specific seed value.
Geometry Guidance Strength — Controls how closely the generated geometry follows the input image.
Geometry Sampling Steps — Number of sampling steps for geometry generation.
Texture Guidance Strength — Controls how closely the generated texture follows the input image.
Texture Sampling Steps — Number of sampling steps for texture generation.
Expand Mesh Extraction Settings to configure:
Simplify Ratio — Ratio for mesh simplification specified as a scalar in the range 0 to 1. Lower values produce simpler meshes.
Texture Size — Resolution of output texture maps specified as
512,1024, or2048. Units are in pixels.
For this example, use default generation and mesh extraction settings.
Click Generate to start the 3D generation process. The app displays a progress indicator as it:
Preprocesses the input image.
Initializes the deep learning model.
Generates 3D geometry from the image.
Extracts and textures the mesh.
Note: The app takes approximately a couple of minutes to generate the first 3D asset depending on GPU memory availability and the subsequent generation takes fewer time.
After generation completes, the textured 3D mesh appears in the canvas. The Scene panel on the left shows the new mesh in the scene graph hierarchy.
You can observe that since by default, the Remove Background option is enabled, the generated scene removes the background.
Note: For your custom image, if you observe that the app is unable to remove background, you can edit the input image with transparent alpha channel and disable the Remove Background option.
Generate 3D Mesh from Text
The app also supports generating meshes from text descriptions.
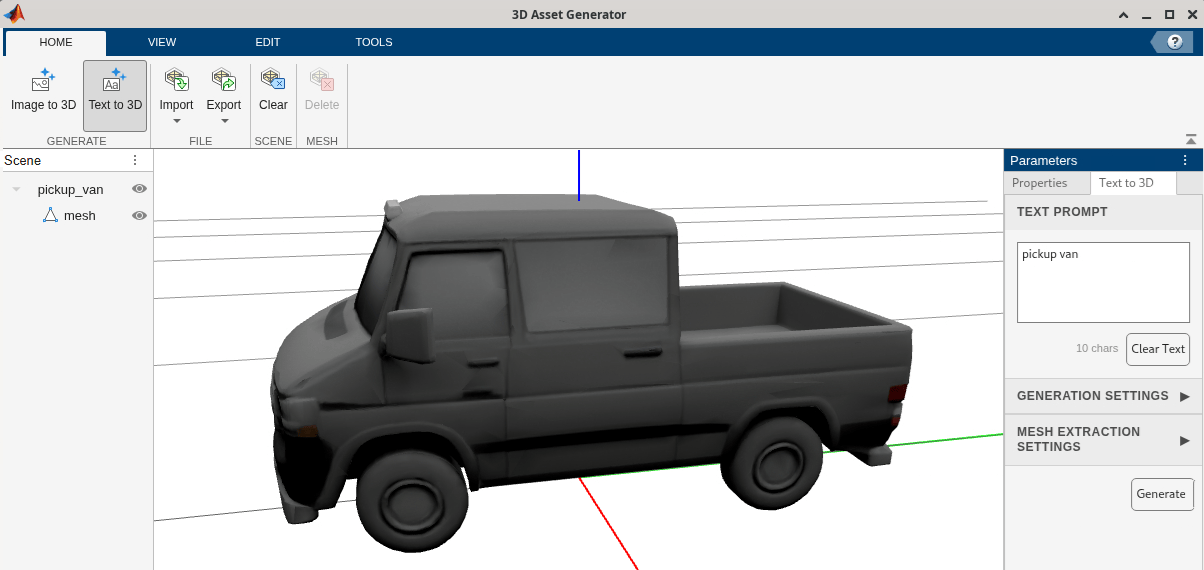
On the Home tab, click Text to 3D. Enter a natural language prompt such as "pickup van" and click Generate. The app generates a 3D mesh from the text prompt.
Import 3D Meshes
Additionally, you can also import existing 3D assets into the app from files or from the MATLAB workspace.
The app supports these file formats:
glTF/GLB (
.gltf,.glb) — Efficient format with full PBR material support.FBX (
.fbx) — Widely supported format for game engines and simulation tools.OBJ (
.obj) — Universal format for geometry exchange.STL (
.stl) — Common format for 3D printing and CAD.PLY (
.ply) — Point cloud and mesh format.USD/USDA/USDC/USDZ (
.usd,.usda,.usdc,.usdz) — Pixar Universal Scene Description formats.Collada (
.dae) — XML-based exchange format.OFF (
.off) — Object File Format for simple geometry.3MF (
.3mf) — 3D Manufacturing Format for 3D printing and manufacturing.
To import a Mesh or Scene object from the MATLAB workspace, click Import and select Import from Workspace.
For this example, on the Home tab, click Import, select Import from File, and select Red_sedan_car.glb, attached to this example as a supporting file.
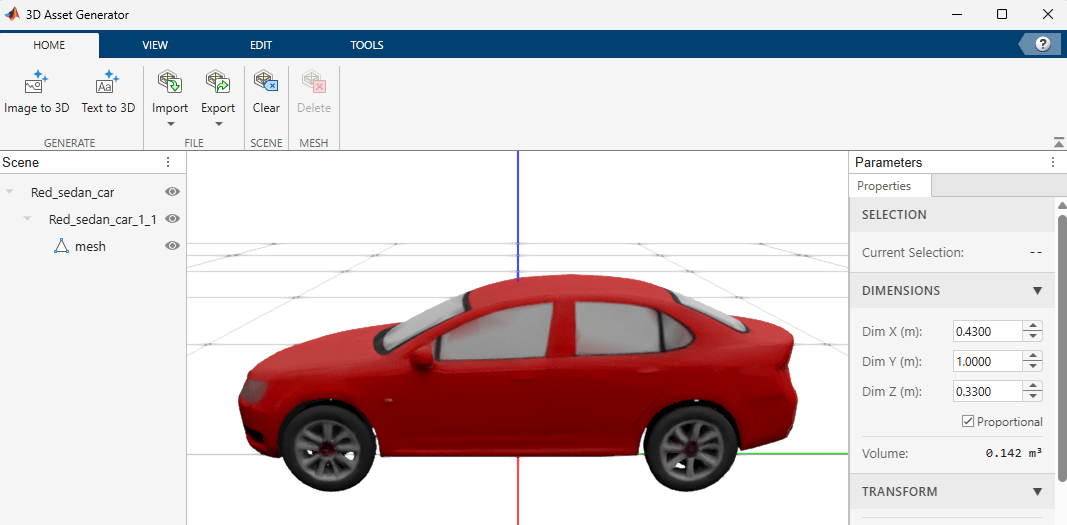
Different 3D asset formats use different coordinate conventions. For example, USD use Z-up while glTF use Y-up. Before importing, use the Up Axis control on the View tab to set the correct orientation for your asset. The app also allows you to correct the axis after you import assets.
Visualize and Inspect Meshes
Use the View tab and the Parameters panel to visualize and inspect generated meshes.

Visualize Meshes
Select the View tab on the toolstrip to access visualization controls:
Scene controls:
Axes — Toggle world axes visibility.
Grid — Toggle ground grid visibility.
Grid Size (m) — Set grid size in meters.
Dark Background — Toggle between dark and light background.
Camera controls:
Perspective — Switch to perspective camera projection.
Orthographic — Switch to orthographic camera projection.
Views — Switch to preset views such as front, back, left, right, top, bottom, default, or isometric. Use these to inspect the mesh from fixed angles.
Texture display:
Base Color — Toggle base color texture display.
Roughness — Toggle roughness texture display.
Metallic — Toggle metallic texture display.
Opacity — Toggle opacity texture display.
Split Texture View — View individual texture channels side by side.
Mesh overlays:
Sub-mesh Axes — Toggle local axes for each sub-mesh.
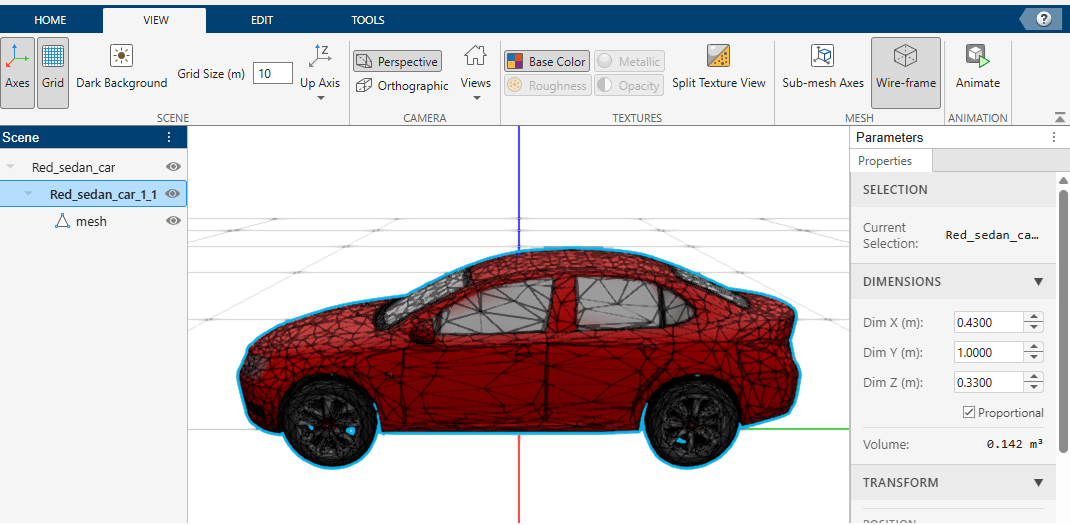
Wire-frame — Toggle wire-frame overlay on the mesh surface.
Animate — Play or pause mesh animation.
For this example, enable Wire-frame to view the mesh topology.
Inspect Mesh Properties
The Parameters panel on the right displays this information:
Dimensions — Mesh volume and bounding box dimensions.
Transform — Mesh position, rotation, and scale information.
Mesh Info — Mesh information such as number of vertices, triangles, materials, and UV channels.
After generating or importing 3D assets, you can apply spatial transformations, segment meshes into parts, and export to standard 3D file formats. For such workflows, see the Transform, Segment, and Export 3D Assets Using Asset Generator example.

