Écrire une image sur ThingSpeak à partir de la carte de caméra ESP32
Cet exemple montre comment capturer une image à partir d'une carte de caméra ESP32 et l'écrire sur un canal d'image ThingsSpeak®.
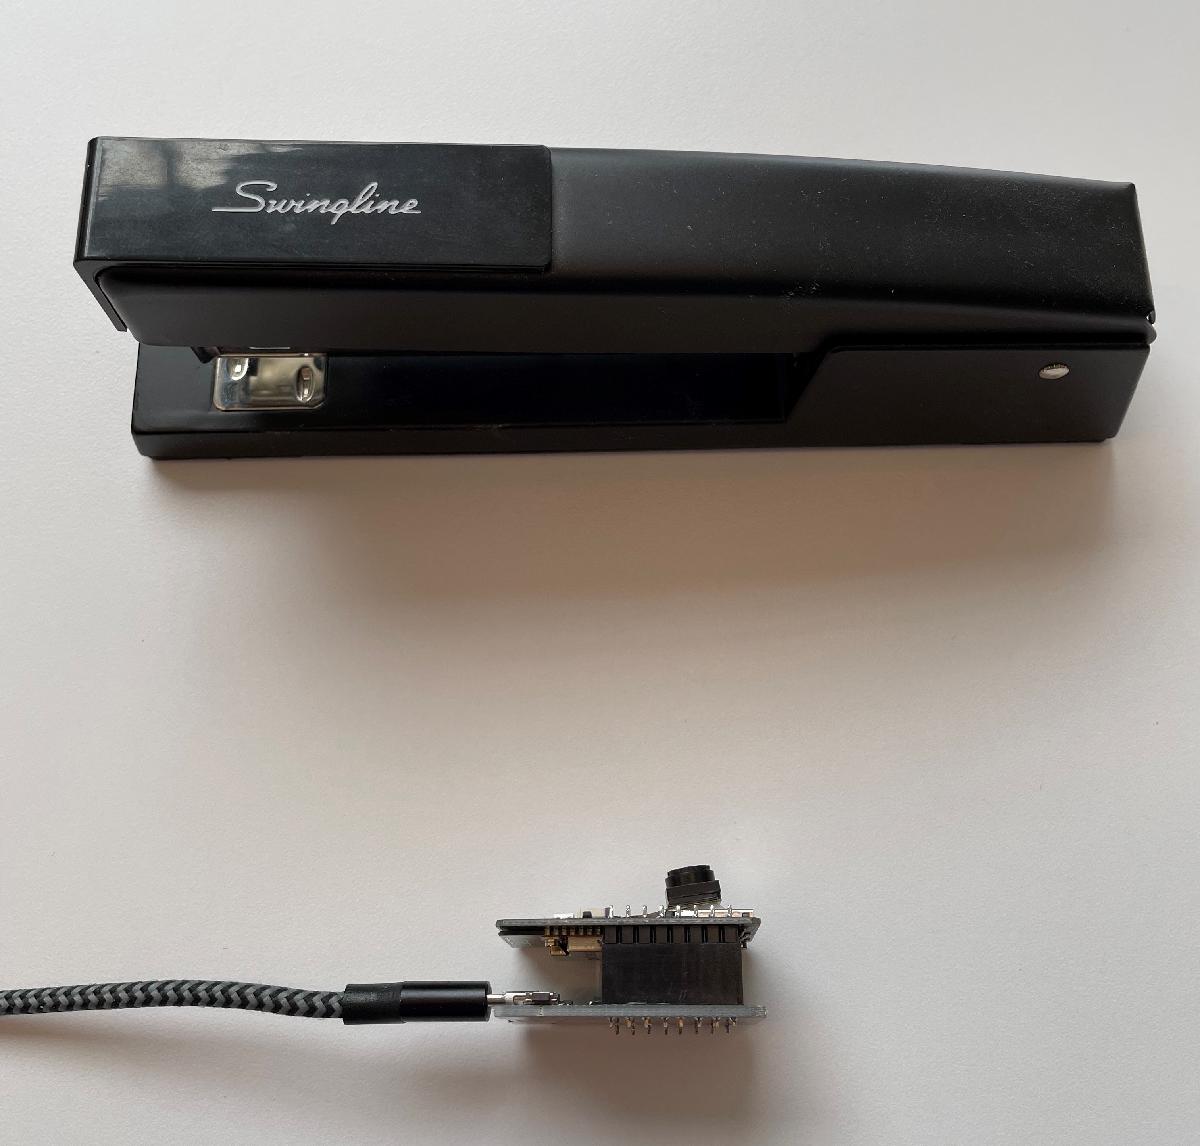
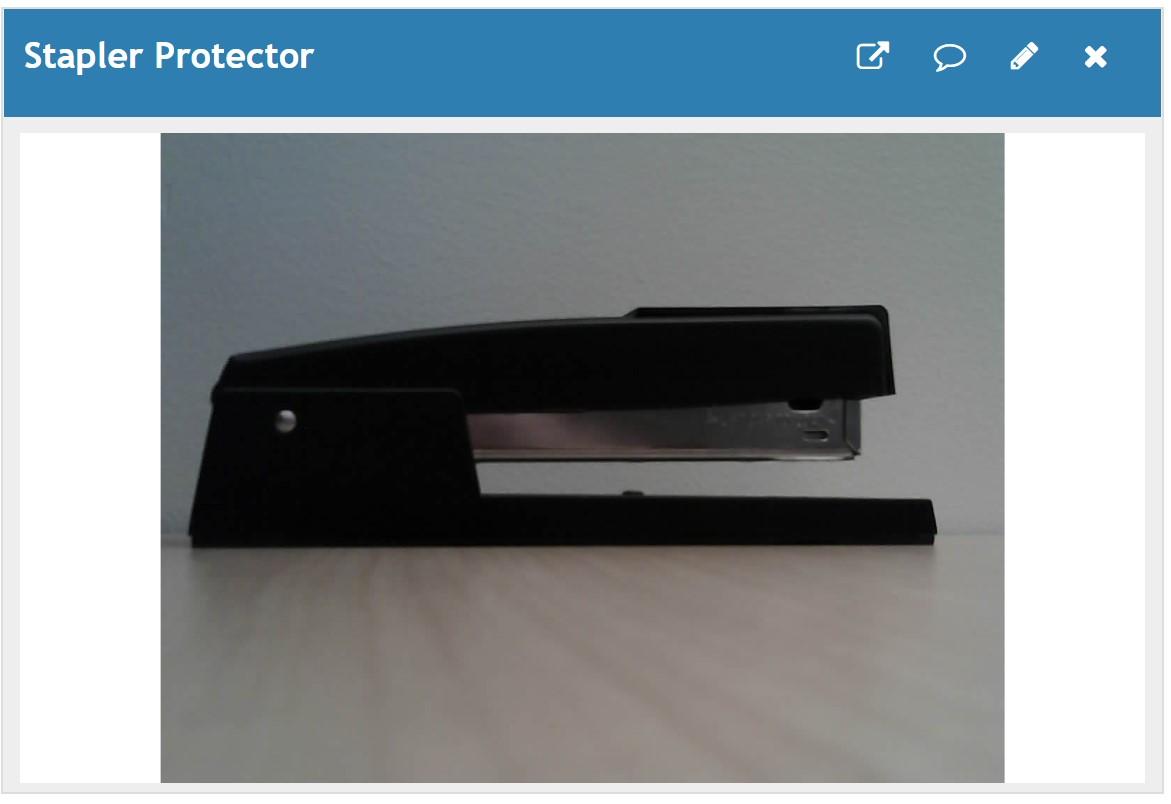
Cet exemple utilise une carte caméra ESP32 compatible avec la carte A.I.Thinker. D'autres types peuvent être utilisés en ajustant les broches définies. L'exemple Prototypage avec capteur de proximité Sonar vous montre comment utiliser un capteur de proximité pour assurer la sécurité de votre agrafeuse. Dans cet exemple, vous pouvez conserver une image de votre agrafeuse pour dissuader et capturer les voleurs potentiels.
Installation
1) Créez un nouveau canal d'image ThingSpeak comme décrit dans Créer un canal d'images.
2) Créez un nouveau canal de données ThingSpeak comme décrit dans Collecter des données dans un nouveau canal.
3) Ajoutez un widget d'affichage d'image à la vue de votre canal de données, comme décrit dans Affichage des images.
Programmer l'ESP32
Utilisez l'IDE Arduino pour créer une application pour votre appareil.
1) Connectez l'ESP32 à votre ordinateur à l'aide d'un câble micro-USB et attendez qu'il se connecte avec succès.

2) Dans l'IDE Arduino, sélectionnez la carte ESP32 Dev Module et le bon port COM.
3) Créez l'application. Ouvrez une nouvelle fenêtre dans l'IDE Arduino et enregistrez le fichier. Ajoutez le code fourni dans la section Code. Modifiez le SSID du réseau sans fil, le mot de passe et la clé d'API en écriture pour votre canal d’image.
Code
1) Inclure les bibliothèques nécessaires et définir les paramètres de connexion. Assurez-vous de modifier les paramètres du Wi-Fi et du canal d'image pour qu'ils correspondent à votre configuration.
#include "esp_camera.h"
#include <WiFiClientSecure.h>

#define PWDN     32
#define RESET    -1
#define XCLK      0
#define SIOD     26
#define SIOC     27
#define Y9       35
#define Y8       34
#define Y7       39
#define Y6       36
#define Y5       21
#define Y4       19
#define Y3       18
#define Y2        5
#define VSYNC    25
#define HREF     23
#define PCLK     22
// Network information.
#define WIFI_SSID "WIFI_NAME"
#define WIFI_PASSWORD "YOUR_WIFI_PASSWORD"

// ThingSpeak information.
#define IMAGE_CHANNEL_ID "YOUR_THINGSPEAK_IMAGE_CHANNEL_ID"
#define IMAGE_CHANNEL_API_KEY "YOUR_THINGSPEAK_IMAGE_CHANNEL_API_KEY"

#define THINGSPEAK_ADDRESS "data.thingspeak.com"

#define RESPONSE_TIMEOUT 5000
#define MAX_BLOCK_SIZE 16384
#define SNAPSHOT_PERIOD 50000

WiFiClientSecure client = NULL;
unsigned long previousSnapshotTime = 0;
bool cameraAvailable = false;
2) Connectez-vous au réseau Wi-Fi local.
void connectWifi()
{
    while (WiFi.status() != WL_CONNECTED) {
        WiFi.begin( WIFI_SSID, WIFI_PASSWORD );
        Serial.println( "Connecting to Wi-Fi" );
        delay( 5000 );
    }
    // Skip checking of server certs.
    client.setInsecure();
    Serial.println( "WiFi Connected" );
}
3) Initialisez la caméra.
bool initCamera() {
  static camera_config_t config  = {
    .pin_pwdn = PWDN,
    .pin_reset = RESET,
    .pin_xclk = XCLK,
    .pin_sscb_sda = SIOD,
    .pin_sscb_scl = SIOC,
    .pin_d7 = Y9,
    .pin_d6 = Y8,
    .pin_d5 = Y7,
    .pin_d4 = Y6,
    .pin_d3 = Y5,
    .pin_d2 = Y4,
    .pin_d1 = Y3,
    .pin_d0 = Y2,
    .pin_vsync = VSYNC,
    .pin_href = HREF,
    .pin_pclk = PCLK,
    .xclk_freq_hz = 20000000,
    .ledc_timer = LEDC_TIMER_0,
    .ledc_channel = LEDC_CHANNEL_0,
    .pixel_format = PIXFORMAT_JPEG,
    .frame_size = FRAMESIZE_QSXGA,
    .jpeg_quality = 10,
    .fb_count = 1,
  };

  if (esp_camera_init(&config) != ESP_OK) {
    Serial.println("Camera initialization failed");
    return false;
  }

  sensor_t * s = esp_camera_sensor_get();
  s->set_brightness(s, 0); // -2 to 2
  s->set_contrast(s, 2); // -2 to 2
  s->set_saturation(s, -2); // -2 to 2
  s->set_whitebal(s, 1); // 0 = disable , 1 = enable
  s->set_awb_gain(s, 1); // 0 = disable , 1 = enable
  s->set_wb_mode(s, 0); // 0 to 4 - if awb_gain enabled (0 - Auto, 1 - Sunny, 2 - Cloudy, 3 - Office, 4 - Home)
  s->set_exposure_ctrl(s, 1); // 0 = disable , 1 = enable
  s->set_aec2(s, 1); // 0 = disable , 1 = enable
  s->set_gain_ctrl(s, 0); // 0 = disable , 1 = enable
  s->set_agc_gain(s, 0); // 0 to 30
  s->set_gainceiling(s, (gainceiling_t)6); // 0 to 6
  s->set_bpc(s, 1); // 0 = disable , 1 = enable
  s->set_wpc(s, 1); // 0 = disable , 1 = enable
  s->set_raw_gma(s, 1); // 0 = disable , 1 = enable (makes much lighter and noisy)
  s->set_lenc(s, 1); // 0 = disable , 1 = enable
  s->set_hmirror(s, 0); // 0 = disable , 1 = enable
  s->set_vflip(s, 0); // 0 = disable , 1 = enable
  s->set_dcw(s, 0); // 0 = disable , 1 = enable
  return true;
}
4) Imprimez la réponse du serveur ThingSpeak sur le port série.
void printResponse(){

  unsigned long startTime = millis();
  // Wait a few hundred milliseconds for server to process the request
  delay( 100 );
  while ( client.available() < 1 && (( millis() - startTime ) < RESPONSE_TIMEOUT ) ){
    delay( 10 );
  }

  // Read server response and print it to serial port
  if( client.available() > 0 ){
    do {
      Serial.write(client.read());
    } while ( client.available() > 0 );
    Serial.println(' ');
  }
}
5) Prenez une photo et envoyez l'image au canal ThingSpeak indiqué ci-dessus. Echo chaque impression client sur le moniteur série pour le débogage.
bool snapshotToThingSpeak() {
  bool result = false;
  // Only send image to ThingSpeak if sufficient time has passed since previous send.
  if ( cameraAvailable && ( millis() > previousSnapshotTime + SNAPSHOT_PERIOD) ) {
    // Capture a new image from the camera.
    camera_fb_t *frame = esp_camera_fb_get();
    if (!frame) return result;
    // Connect to ThingSpeak and send image
    // Echo client commands to serial port for debugging
    if (client.connect(THINGSPEAK_ADDRESS, 443)) {
      Serial.println("Writing image to ThingSpeak");
      client.print( "POST /channels/");
      Serial.print( "POST /channels/");
      client.print( IMAGE_CHANNEL_ID );
      Serial.print( IMAGE_CHANNEL_ID );
      client.println( "/images HTTP/1.1" );
      Serial.print( IMAGE_CHANNEL_ID );
      client.println( "Connection: close" );
      Serial.println( "Connection: close" );
      client.print( "Host: " );
      Serial.print( "Host: " );
      client.println(THINGSPEAK_ADDRESS);
      Serial.println(THINGSPEAK_ADDRESS);
      client.print( "Thingspeak-image-channel-api-key: ");
      Serial.print( "Thingspeak-image-channel-api-key: ");
      client.println( IMAGE_CHANNEL_API_KEY );
      Serial.println( IMAGE_CHANNEL_API_KEY );
      client.println( "Content-Type: image/jpeg" );
      Serial.println( "Content-Type: image/jpeg" );
      client.print( "Content-Length: ");
      Serial.print( "Content-Length: ");
      client.println(frame->len);
      Serial.println(frame->len);
      client.println(  );
      Serial.println(  );
      uint8_t *fbBuf = frame->buf;
      long int fbLen = frame->len;
      do {
        client.write(fbBuf, ( (fbLen > MAX_BLOCK_SIZE) ? MAX_BLOCK_SIZE : fbLen) );
        fbLen -= MAX_BLOCK_SIZE;
        fbBuf += MAX_BLOCK_SIZE;
      } while (fbLen > 0);
      client.flush();
      // Print out server response to serial port.
      printResponse();
      client.stop();
      result = true;
    } else {
      Serial.print("Unable to connect to ");
      Serial.println(THINGSPEAK_ADDRESS);
    }
    // Update the stored time when the last image was written.
    previousSnapshotTime = millis();
    // Free the memory buffer for the image so we don't leak memory and segmentation fault.
    esp_camera_fb_return(frame);
    return result;
  }
}
6) Exécutez les routines d'initialisation.
void setup() {
   // Open serial port for printing debug messages.
   Serial.begin( 115200 );

   // Connect to WiFi
   connectWifi();

   // Initialize the camera
   if (initCamera()){
    Serial.println("Camera initialized");
    cameraAvailable = true;
   }
}
7) Bouclez en continu et envoyez une image à ThingSpeak.
void loop() {
// If the connection is lost, reconnect.
  if (WiFi.status() != WL_CONNECTED) {
    connectWifi();
  }
  snapshotToThingSpeak();
  delay(30);
}
Ecrire l'image
Exécutez le code tout en surveillant le widget Image Display dans votre vue de page.
