View Autogenerated Custom Layers Using Deep Network Designer
This example shows how to import a pretrained TensorFlow™ network and view the autogenerated layers in Deep Network Designer.
Unzip the model folder.
if ~exist("digitsDAGnetwithnoise","dir")
    unzip("digitsDAGnetwithnoise.zip")
end
To import the network, use the Deep Network Designer app.
deepNetworkDesigner
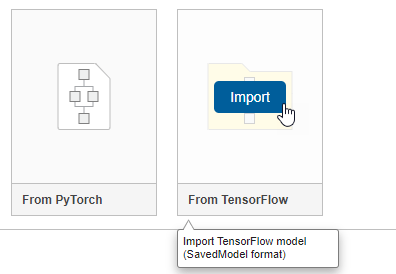
In the Deep Network Designer Start Page, on the From TensorFlow tile, click Import. Importing a model from TensorFlow™ requires the Deep Learning Toolbox™ Converter for TensorFlow Models support package. If this support package is not installed, then the Import button says Install instead. Click Install to install the required support package.
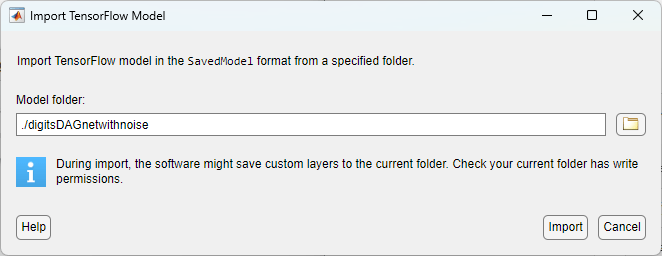
In the Import TensorFlow Model dialog box, set the model folder to ./digitsDAGwithnoise and then click Import. If the TensorFlow™ network contains layers not supported for conversion into built-in MATLAB layers, then the app can automatically generate custom layers in place of these layers. The app saves each generated custom layer to a separate .m file in the package +digitsDAGnetwithnoise in the current folder.
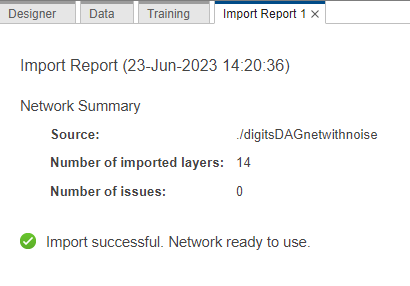
The app displays information about the import in the Import Report. In this example, the import has zero issues.
To view the imported network, click the Designer tab.
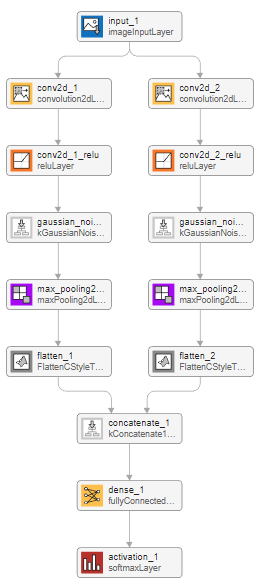
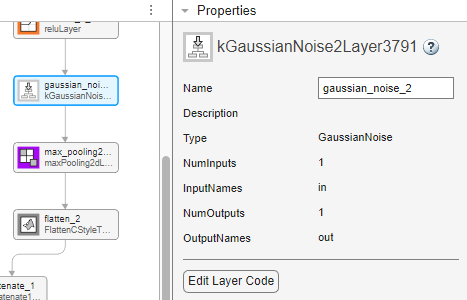
The autogenerated layers appear in the Deep Network Designer canvas with gray icons with names starting with "k". You can select a layer to see more information about its properties. Select one of the Gaussian noise custom layers. You can view and edit the layer code by clicking Edit Layer Code. The class file opens in the MATLAB® Editor.
To export the network to the workspace for training or inference, click Export. The app exports the network as a dlnetwork object. If you want to retrain the network, use the trainnet function or a custom training loop.
See Also
Deep Network Designer | trainnet | trainingOptions | dlnetwork | importTensorFlowNetwork